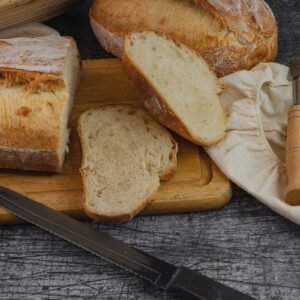
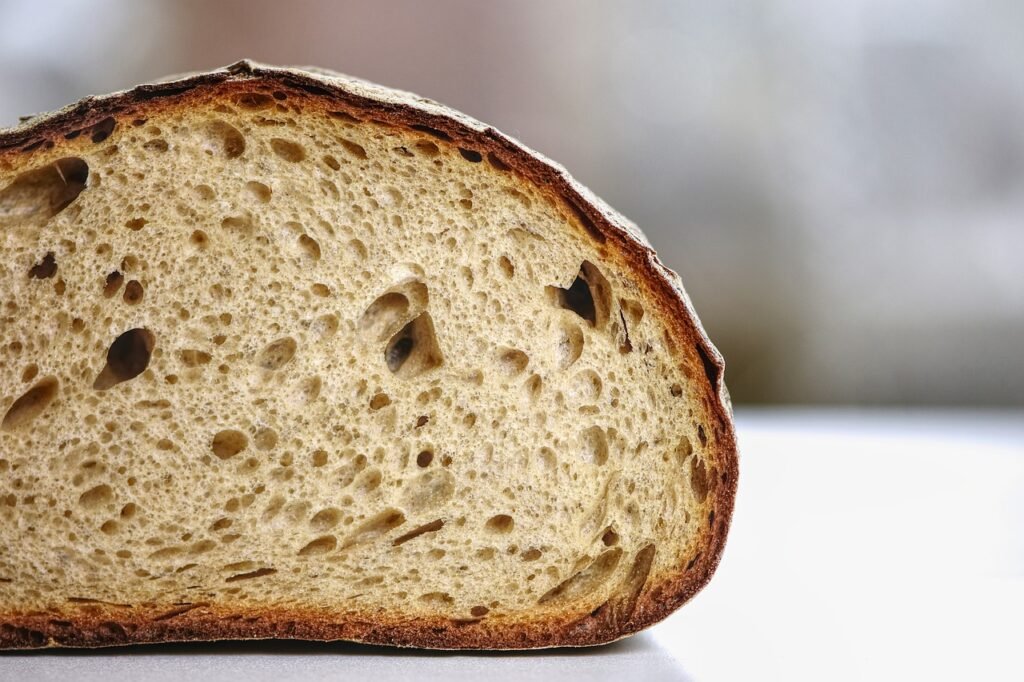
There’s something incredibly satisfying about baking your own bread, the pride of creating something so delicious from scratch. Whether you’re a seasoned baker or a beginner, this Classic Homemade Bread Recipe is both straightforward and rewarding.
My own journey into bread baking began when I decided to take mine and my families health more seriously. Looking into our diet, I realised that making our own bread from scratch allowed me to control the ingredients and avoid unnecessary additives found in many store-bought varieties. The process quickly became a therapeutic and rewarding part of our routine.
Homemade vs. Store-Bought
If you’re anything like me, you’ve probably wondered if homemade bread is worth the effort compared to the convenience of store-bought loaves. Here’s what I’ve discovered along the way, and why I now firmly believe homemade is the way to go.
1. Ingredients Matter:
When I started focusing on healthier eating, I began scrutinizing ingredient labels on everything—including bread. I was shocked to find so many preservatives and additives in store-bought bread. This discovery pushed me to try making my own bread with simple, clean ingredients. Flour, water, salt, and yeast—nothing more. The result? A healthier, tastier loaf without any unnecessary chemicals.
2. The Art of Breadmaking
There’s something almost therapeutic about kneading dough and watching it rise. It’s a tradition that connects us to our ancestors. At first, I was intimidated, but I quickly found that making bread is more about patience than perfection. Each loaf is a labor of love, and the process itself has become a cherished part of my routine.
3. Know What You’re Eating
When you make your own bread, you control what goes into it. For someone like me, who’s trying to avoid unnecessary sugars and unhealthy fats, this is a game-changer. I’ve experimented with whole grains, added seeds, and even tried gluten-free versions—all in an effort to make my bread as nutritious as possible.
4. An Unbeatable aroma and taste
Nothing beats the smell of fresh bread baking in the oven. It fills my home with an inviting warmth that store-bought bread just can’t compete with. And the taste? The crispy crust, the soft, chewy interior—each bite is a reminder of why I started this journey.
5. A More Sustainable Choice
I also found that making bread at home can be more economical. Buying ingredients in bulk saves money in the long run. Plus, by reducing my reliance on packaged goods, I’m cutting down on plastic waste and making a small but meaningful contribution to environmental sustainability.
Is Homemade Bread Really Better?
Some might argue that homemade bread is too time-consuming and that store-bought bread is more consistent. I’ve had my fair share of kitchen mishaps, but each one has been a learning experience. The slight imperfections in each homemade loaf add character and uniqueness—something you’ll never find in mass-produced bread.
Try It for Yourself!
I encourage you to try making your own bread with my Classic Homemade Bread recipe. Experience the difference for yourself and see if you become as hooked as I am.

Classic Homemade Bread
Ingredients
- 500 g bread flour
- 25 g golden caster sugar
- 1 tsp salt
- 7 g dry active yeast
- 355 g warm water
Instructions
- In a large mixing bowl, add the flour and make a well in the middle of it
- in the flour well, combine the warm water, sugar and yeast, give the liquid a light mix until it becomes slightly foamy. This indicates that the yeast is active.
- Mix the flour in with the liquid until it becomes a shaggy dough and leave, covered with a damp cloth, for 30mins
- Perform a series of stretches and folds on the dough by gently pulling the edges up and folding on top of itself. Cover again and leave for 30 mins
- Repeat the stretch and fold step two more times at 30min intervals.
- Cover the bowl again and let it rise in a warm, draft-free place for about 4 hours, or until it has doubled in size.
- Punch down the dough to remove air bubbles. Shape it into a loaf and place it into a small bowl or if you have a banneton, perfect!
- Cover again and place in the fridge for 45mins
- At the same time, place your cast iron pot in your oven (empty) and preheat for 45mins
- Turn your bread out onto some grease proof paper and, using a blade or small sharp knife, score a fun shape into your bread. Ensure there is at least one large slice about 1cm deep through your bread.
- Remove your empty pot carefully from the oven. Grabbing the sides of the grease proof paper, lift your bread into your cast iron pot and place the lid back on.
- Bake the bread in the preheated oven for 45mins or until the top is golden brown and the bread sounds hollow when tapped on the bottom
- Remove the bread from the pan and let it cool on a wire rack before slicing.
Baking bread is an art and a science, but with this classic recipe, you’re well on your way to mastering it. The process is therapeutic, and the result is a loaf of bread that’s perfect for sandwhiches, toast, or simply enjoying with a pat of butter. Give it a try, and let me know how it turns out in the comments sections below. Happy baking!
If you’re interested in taking it a step further – making homemade bread with your own homemade yeast, then you should check out my post on making a sourdough starter from scratch and then following my sourdough bread recipe.
I’d love to hear your thoughts on the homemade vs. store-bought bread debate. Have you tried making your own bread? What was your experience like? Share your stories and photos in the comments below.


👍🏼